Pop Brights

Ceramic Glaze and Quo nail polishes

Shoppers Drug Mart is having a “Nail the Look” contest on their site. They are featuring four different nail looks and have asked people like us to nail the look and send in photos of the results. The judges will then pick a favorite from each look and each of the winners gets $500 in nail products. How could I not enter?

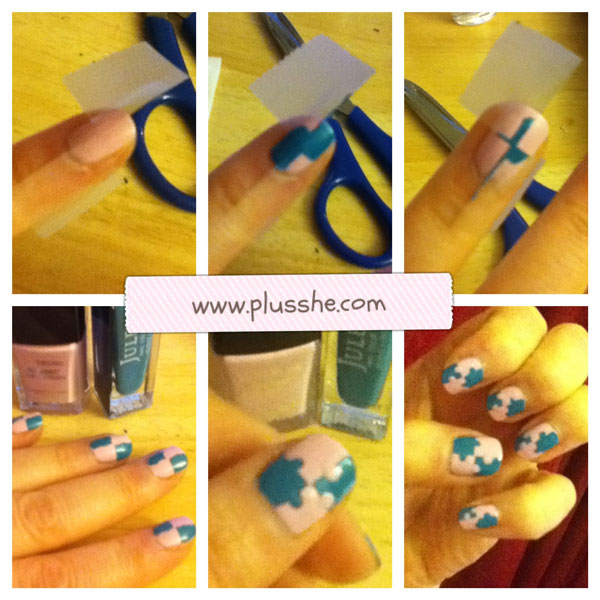
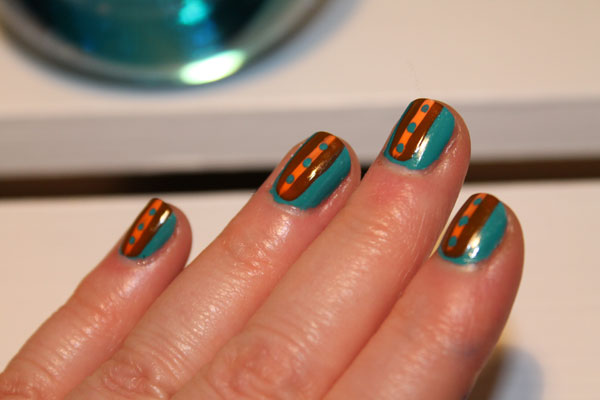
The first look is called Pop Brights. The look was developed by Jenny Stencel and Danielle Black from polishyoupretty.com. Here is their tutorial:

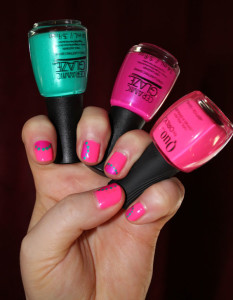
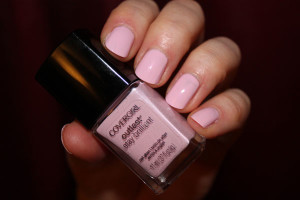
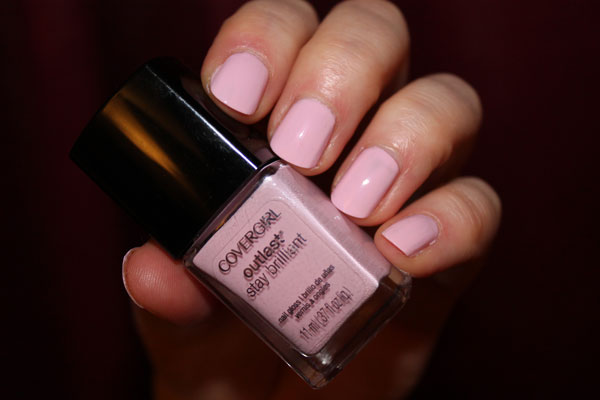
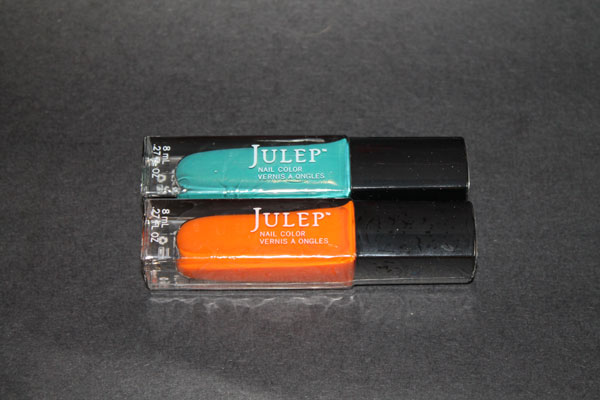
I thought this look would be a good one to start with so I headed out to Shopper’s to see what I could find. Luckily they had all the colors I needed and they were all on sale:

  • Quo by Orly — Femme Fatale
  • Ceramic Glaze — Watermelon Cooler
  • Ceramic Glaze — Exotic Dragon Fruit

Ceramic Glaze and Quo nail polishes

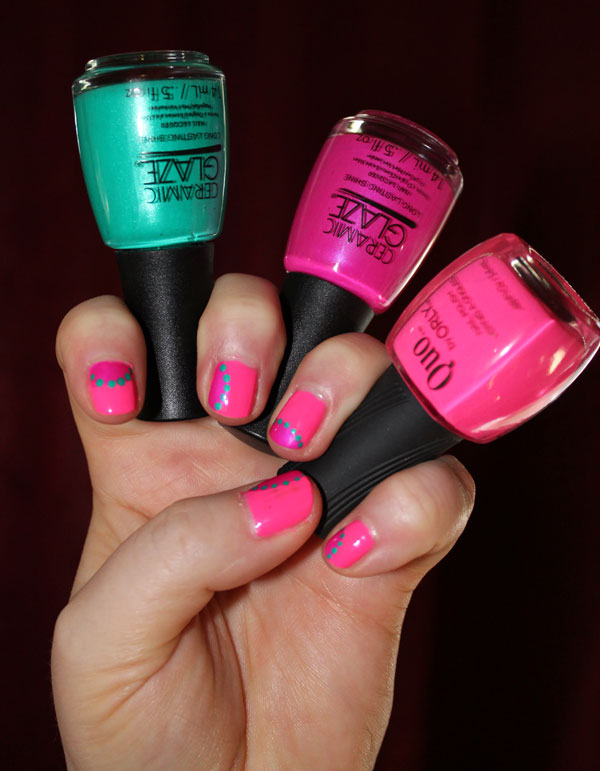
This is my first time using Quo and Ceramic Glaze nail polish. They are both on the higher end price wise and were on sale for $8.99.

Dragon Fruit with Watermelon dots.

I did not enjoy the Quo experience. I actually had to take off the first two coats I put on because they were such a goopy mess. If I used anymore than two brush strokes to get the polish on it got sticky. I fared better with my second attempt but still was not impressed. If they are all like this I probably would not buy anymore.

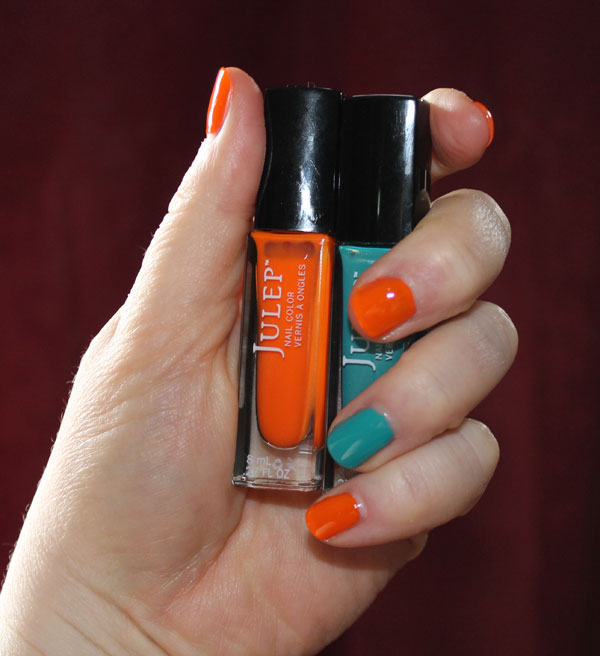
I did however really like both of the Ceramic Glaze polishes which I found much easier to work with.

Playing with nail art dots and bright colors.

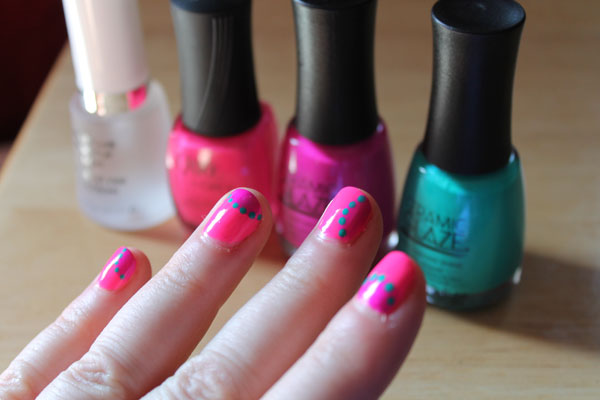
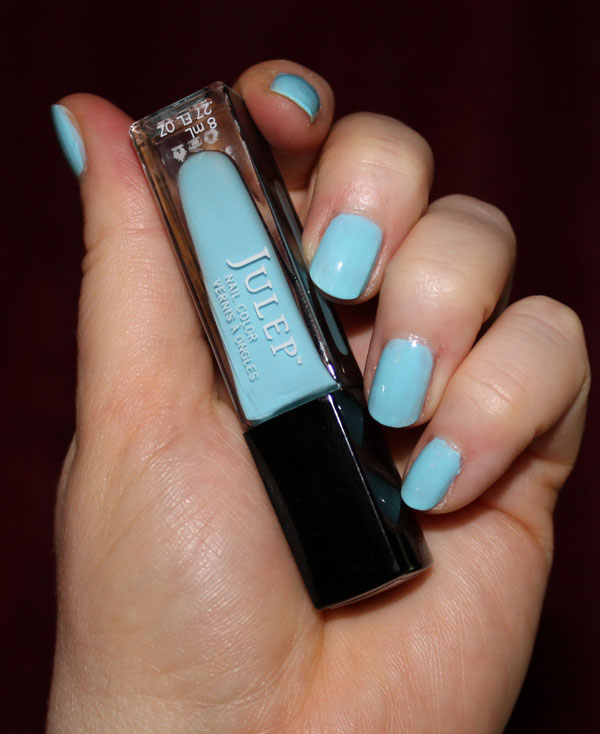
The video used an Essie Millionales base coat but I used a Revlon Multi-care Base/Top Coat (965). And my favorite Julep Freedom Polymer for the top coat.

Pop Brights Nail Art Submission to Nail the Look.

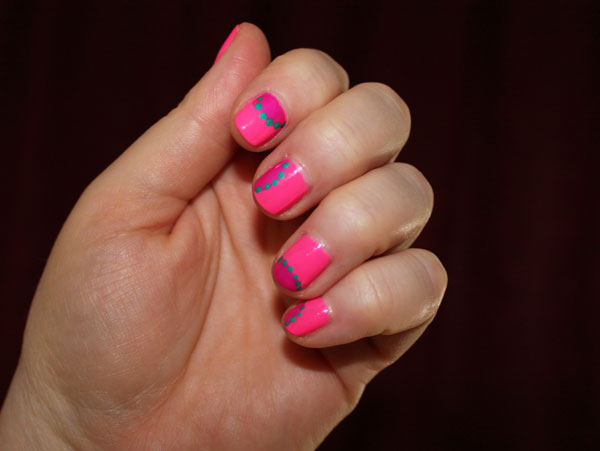
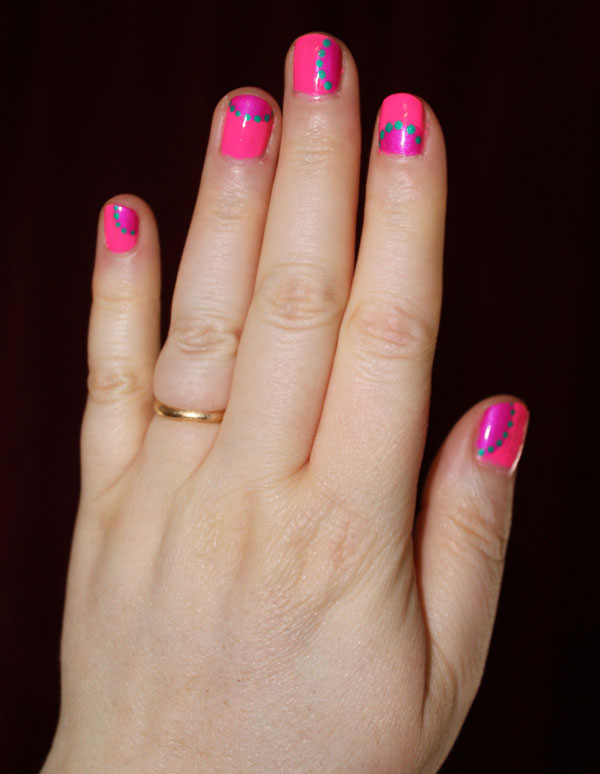
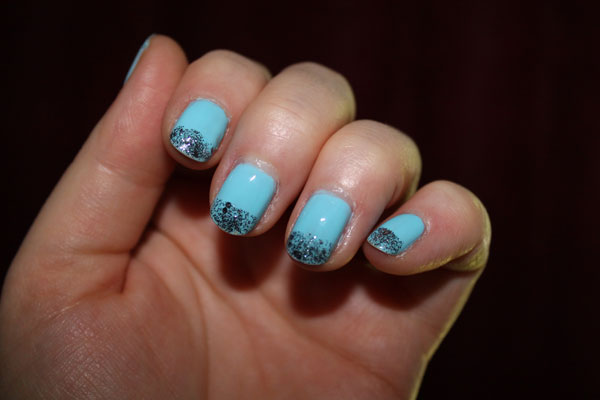
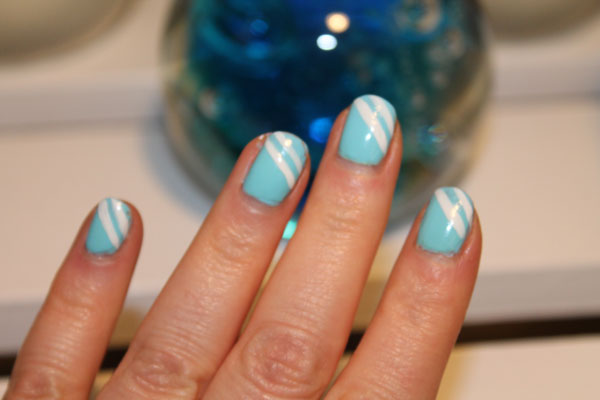
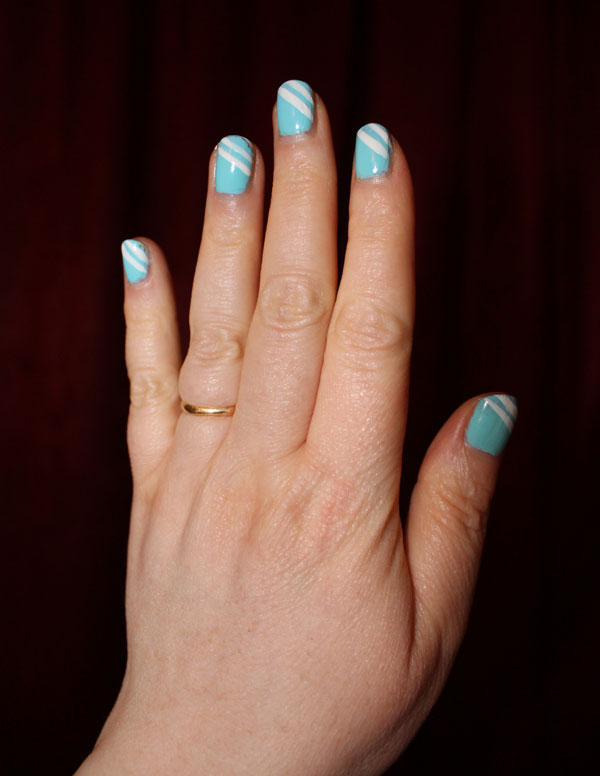
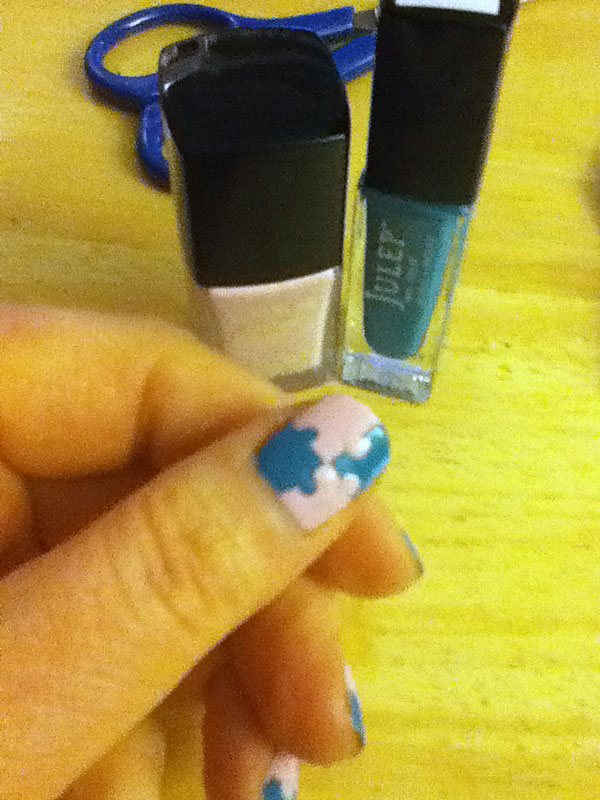
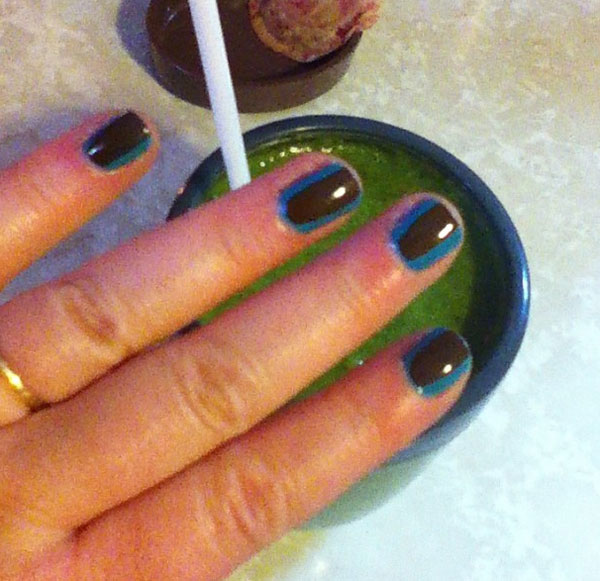
I am very happy with how it turned out! I have a lot of brighter shades in my nail polish box and I love the concept of breaking up the brightness so it is not so overpowering. I am so thankful I watched this tutorial and gave it a try. Fingers crossed the judges think I “nailed the look”!

***
Topic Links
* Shopper’s Drug Mart Nail the Look — Campaign is over.
* Take a look at my other entry!

True Blue

Bright blue nail polish with two thin white stripes on tips.

Bess, I love you.

I know I have been going crazy with nail polish for the last few months and I apologize for this addiction but honestly I cannot help it. Ok, I can but I don’t want to. Especially after wearing this new color from Julep.

Bright blue nail polish by Julep.

About a week ago I put on two coats of this thick creme nail polish with no top coat — it had such a nice sheen on its own I didn’t bother.

A fresh coat of bright blue nail polish.

I probably could have put on a third coat as my nail tips are still visible but I really don’t mind the look. This robin’s egg blue is called Bess — like a good friend. I know I am obsessed with blue tones but this one is so pretty.

Robin egg blue nail polish from Julep.

After a few days I was a wee bit bored with myself and changed the look into a make-shift French manicure by putting slate sparkle polish (Jordan) on the tips. I am pretty sure it was two coats. It just looks black in the photo but trust me, it is glitter.

Silver grey glitter manicure with bright blue polish.

I enjoyed it for a few days and was itching to do something else. The polish was still looking hot so I could not justify taking it off. Soooo… I put on another coat of Bess, yes, right over the sparkles and everything. Then I took out my L.A. Colors white nail art lacquer brush and painted diagonal stripes on the tips (left hand first).

Diagonal white stripes on nail tips.

It turned out way better than I could have imagined.

Bright blue nail polish with two thin white stripes on tips.

This last nail art was super easy and I highly recommend trying it. It was fun to do and looks so sharp.

***
Topic Links
* Become a Julep Maven or shop at Julep
* My first Maven experience
* My second Maven experience

Puzzled Nail Art

Cover Girl Pink-finity nail polish.

I follow a lot of nail art bloggers for fun and inspiration. The inspiration part came in when I decided I wanted to kick my three year spurt of picking at my nails and cuticles until they were raw habit. I used looking at the lovely cuticles of others and it worked. My cuticles are looking pretty damn good. I have not ventured much into the world of nail art myself though I have wanted to. The basic wearing a new color on the ring finger (which is fun too) is pretty and the lady bug art I did years ago are the extent of my experience.

Anyway, I have been really admiring puzzle pieces. There are more than a few variations on Youtube. My first attempt involved creating a white outline but it was a really messy process which I did not take pictures. I decided to go with a simpler technique offered by Jocelyn from Polishpedia. She makes it looks so easy.

Let me tell you, it is not! Ok, it is not super hard either but it is not as easy as it looks in the video. Speaking of video, you can watch her instructions:

My Puzzle Pieces Nail Art

I loved the pale color of Cover Girl’s Pink-finity (#140) but after a few days I was itching to put some nail art on it.

Cover Girl Pink-finity nail polish.

My original plan was to coordinate it with Julep’s Alley, which is a bright sparkly blue, but I ended up grabbing the Lena, a creamy teal, instead. The color blocking still look great together but you know what it is like when you have your heart set on something.

In the video the nail artist put the tape on all her nails first. I chose to do one at a time because knowing me the tape from one nail would accidentally touch the wet polish of another. I also reused the tape one more time (that is the recycler in me) as you can see from the third image. I did all the boxes on both hands and allowed them to dry before I went on to make the dots with my dotting tool. I then did all the blue dots first, followed by the pink ones. A top coat is a must to smooth things out. It will still be a little bumpy where the puzzle pieces join and takes a bit longer to dry.

Step by Step images of nail art for puzzle pieces.

Ok, it is not hideous by any means. There were many spots I would have done over because they smudged or the circle was more of an oval. I do think it is a good first attempt (this style). I especially like how the thumb one turned out.

Two color nail art puzzle pieces.

A few things I have learned from this experience:

  • Patience is required for nail art.
  • Make sure there is enough light.
  • Start with weak hand first (I already knew that but ignored it anyway).
  • Don’t rush — make sure you don’t have to be somewhere in an hour.
  • Don’t load up the brush with polish.
  • Practice may not be perfect but it does make it better.
  • Have different sized dotting tools on hand. My tool was too small.

Overall, I did enjoy doing this and want to do it again with different colors. I would recommend giving it a try if you have the time and are feeling creative. It is fun watching it come together.

***
Topic Links
* Subscribe to Polishpedia for more nail art ideas
* Check out my lady bug nail art tutorial

Being a Julep Maven: Take Two

April Brights from Julep's April Maven box.

In March I mentioned I became a Boho Glam Julep Maven. I am following up with news about my second box. The April Brights box contained two Julep colors, Kaylen (neon orange crème) and Lena (teal with gold shimmer), a tube of Julep’s Mighty Nail and Cuticle Serum, and some blue rock candy on a stick (FYI: if you are going to send candy, make it chocolate).

To back things up a bit. Even though last month was my first box, this month was my first pre-notification that my maven box would soon be on its way. On the March 20th I approved my Maven April Brights box and ordered a few discounted add-ons: the Electric blueberry frost polish and the Freedom Polymer Top Coat both for $4.99. I was told I would have until the 24th to change my mind or my selections. On the 29th I received two separate emails, the first telling me my April Maven box was on its way, and the second telling me my add-ons were on their way (they are always shipped separately from Maven boxes).

I was very excited when my Julep Maven box arrived and tweeted/insta it immediately on opening.

April Brights from Julep's April Maven box.

Here is a closer look at the colors. Lena turned out to be greener than I thought it was going to, it looked more turquoise on the site.

Here are the Lena and Kaylen nail polishes from Julep's April Brights Maven box.

I had a plan in my head for my nails before the polished arrived. I wanted to paint my nails all blue except for the ring fingers which would be orange — a popular and simple nail trend at the moment. When I opened up my polishes and started painting I was so excited and before I knew it all my nails were painted teal. I remembered another simple nail art video I had seen where a simple brush stroke of another color is painted down the middle. When the teal dried I did just that. Unfortunately, the orange polish is a bit transparent and turned out to be brown on the nail. I posted it to Instagram and friends said they liked it — one said it reminded her of peacock eyes (this image is from iPod).

Nail art with the April brights polish.

But I still felt I needed to “fix” it. I put a white strip down the middle, added another coat of orange, then a few teal dots. Way more busy than I originally intended for the April Brights and to my eye, kind of muddy.

Orange and teal nail art with Julep polish.

I wore it for a couple days until I finally got what I wanted. I have been tickled orange ever since.

Orange and teal manicure with Julep nail polish.

There is one coat of the teal and two coats of the orange. I probably could have done three. I am happy with the colors this month.

***
Topic Links
* Become a Julep Maven

Christmas Nails How-To

When you are dressing up for Christmas do not forget your final accessory, your nails. Here are a few ideas from some talented nail designers that even we can do!

This first video gives you a few ideas you can use all at once or pick and choose the ones that suit your personality:

Another super easy Christmas nail using products and tools you already have (bobby pins are multi-purpose tools you know):

No snow where you are? Then be your own snowflake with this simple tutorial. If you don’t have light blue for the background red or black would look great too!

Do not forget to put a top coat over all your nail art so it will last longer.

Have fun!

***
Topic Links
* More of my favorite holiday nail tutorials