Evil Queen Press On Nails

I have on Evil Queen from the Disney Villains collection from Broadway Nails.

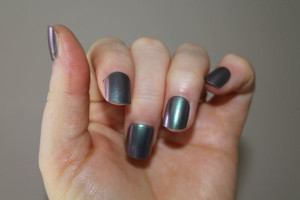
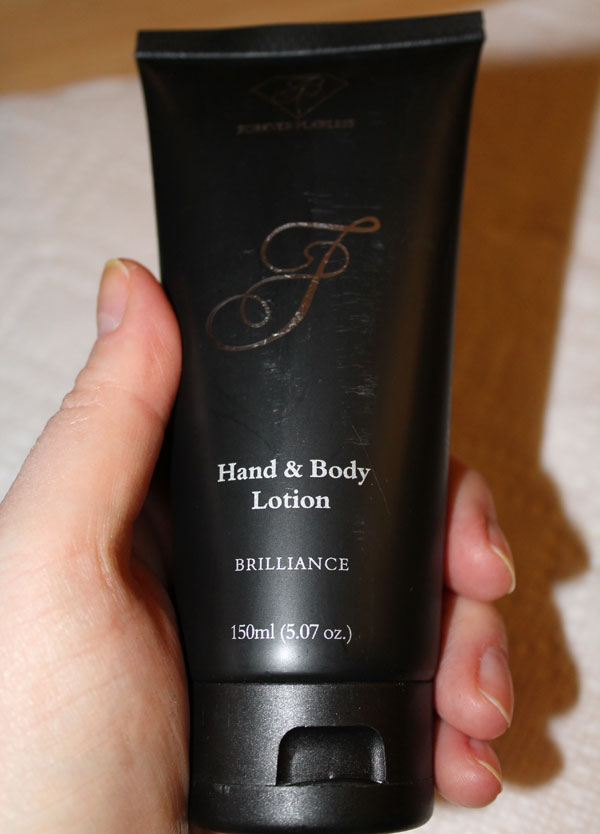
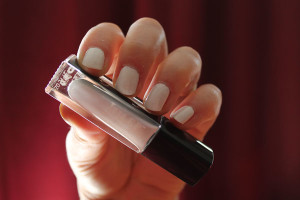
The folks at Broadway Nails and Influenster were kind enough to send me two packages of press-on nails to try. I actually didn’t like the nail art on one of them and gave them away to a Facebook friend and kept these Disney Villain’s inspired Evil Queen ones to try. I am not new to Broadway’s press-on nails but this is my first solid style. I love the steel grey color (they have lots of other styles to choose from) with a hint of holographic.

One of the first things I like about these press on nails is the length. They are short and very workable. I am wearing them as I am typing right now with no issue whatsoever. The downside is my nails are not very long to begin with and I had to trim them a bit.

The whole process takes five to ten minutes: sorting proper sizes, cleaning off own nails with prep pad, and applying nails. They recommend not washing your hands for 30 minutes but otherwise you are ready to go. No messy glue involved! Here is a 30 second image video so you can see process from start to finish:

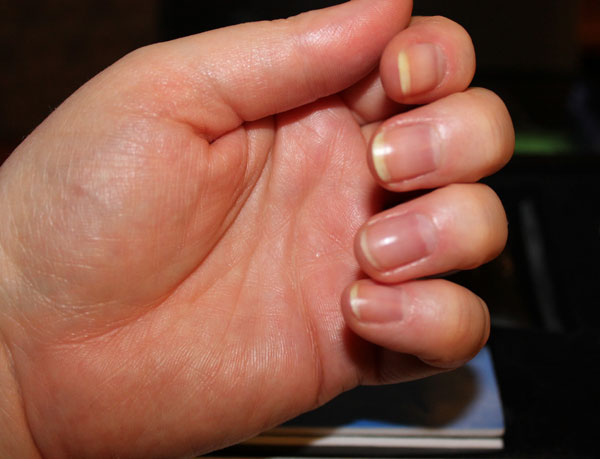
From the top and from a normal distance (not looking too closely) they look like regular nails but on closer inspection from the side or underneath it is obvious they are fake nails especially if you haven’t trimmed your nails short enough. There are 24 nails pieces to choose from but I still found it hard to fit my thumb and middle fingers.

I have on Evil Queen from the Disney Villains collection from Broadway Nails.

I find it necessary to give the nails a good press every day just to make sure nothing has come loose — usually after a shower. I also give them a quick blow dry with the dryer so water is not sitting underneath them.

You definitely don’t have to worry about chipped nails or questionable chemicals with this brand of nail coverage and the sticky backing is pretty strong. I can get about five days of problem free wear but I like to change my color more often so some people might be able to get longer. The key is definitely clean nails, and making a point of repressing them at least once a day.

A box of nails cost between $9 to $13 depending on where you purchase them. They are available from shops like Walmart, Target, London Drugs, Loblaws etc.

***
Topic Links
* Learn more about Influenster

Deluxe Manicure Kit

Diamond Deluxe Manicure Box Closed.

When my brother-in-law was visiting a few weeks ago he dragged his brother to one of the malls in Toronto. While there they got to experience a hard-sell at one of the Kiosks. Specifically the Forever Flawless Deluxe Manicure Kits, “for beautiful, shiny nails and soft beautiful hands”.

Diamond Deluxe Manicure Box Closed.

At the kiosk the kits costs $79.99 but the men were able to walk away with two kits for the price of one. Two for the price of one, the men thought they got a good deal and a gift for each wife.

Diamond Deluxe Manicure Box opened.

So what is in the kit?

  • 150 ml of Forever Flawless Hand and Body Lotion
  • 15 ml of Forever Flawless Cuticle Oil
  • 4 sided buffing block
  • nail file
  • cuticle trimmer

The box has detailed instructions on how to use the contents on both the inside flap and on the outside.

The Lotion

The lotion is very thick and creamy; even the tube is heavy. I found it to be a very mild scent (I actually really liked the scent because of this) but my husband thought it was strong. A little goes a long way in terms of coverage but once it has soaked in there is no greasy feeling residue afterwards.

The black tube of Forever Diamonds hand and body lotion.

I wanted so much for this lotion to be awesome and it is for maybe the first hour or two but it does not hold up in terms of fighting dryness or providing protection. In fact, over a week, I found the skin on my hands felt dryer, looked older, and was more irritated than ever. Definitely not what I expected from an $80 price tag.

The Cuticle Oil

The container for the cuticle oil is a bit cheap. It has a little ball tip for application. There is no control over how much comes out, a bit too much in my opinion.

Forever Flawless Cuticle Oil.

Now, I will admit I am a bit biased when it comes to cuticle oils as I have been using the same one for over eight years and have yet to find anything that comes even close to being as good.

According to the ingredients on the back this one is a combination of water, jojoba oil, and sand flavor.

Forever Flawless cuticle oil ingredients.

I feel the same about this product as the lotion. After a week of using it my cuticles were crying for my old oils and my hang nails were out of controls. If you use absolutely nothing on your cuticles I can see how this might be useful but again for the $80 price tag, not so much. You could find better conditioners in your local drug store for much cheaper.

The 4-sided Buffer

To me, this was the best item in the box. I am not a huge fan of buffers on a regular basis because it is easy to over buff and buffing causes splitting. But as someone who regularly abuses nail polish sometimes it is just necessary. The buffer is actually a three sided buffer with the fourth being a nail file. This is how my nails look before buffing (the yellow tint is from a previous staining of orange polish):

What my nails looked like before buffing.

I love the two different grains for getting a smooth finish and the final silky side for getting a really nice shine. After using this anyone could go without polish with confidence. It’s lovely, if you can your hands on the buffer, go for it.

What my nails looked like after buffing.

The Nail File

Meh.

The nail file from the Forever Flawless manicure kit.

The Cuticle Trimmer

DON’T ever use one of these but especially this one. This was incredibly sharp and dangerous to any healthy nail/cuticle or nails/cuticles trying to get healthy. You would be better off using clippers to trim. This was also a cheap piece of plastic — I have one I paid less for that is better quality.

Cuticle trimmer from manicure kit.

Overall, I cannot say I am impressed with this manicure kit and if I had been with the men while they were shopping I would have told them to skip it — even though they got two kits for their regular price (which was a last minute attempt by the seller). Incidentally, I found a Forever Flawless website that is selling the kit for $99. It looks basically the same but the cuticle oil container is actually nice looking.

***
Topic Links
* Forever Flawless Nail Care Kit

I Love Some Bunny

Two coats of Julep's Bunny white nail polish.

Ok, I was at a loss for a title to use with last week’s nail polish pick, it happens. The white polish you see before you is called Bunny and it is by Julep.

Bright white nail polish from Julep Maven add on.

This polish is thick and creamy white with a very fine gold fleck you can see in the bottle if you look real close but not really on the nail.

Gold flecks in white creme polish.

I used two coats to get a completely opaque finish. I do not think I particularly like white nail polish in and of itself — perhaps if I had a tan or if the sparkle had shown up it would have been perfect.

Two coats of Julep's Bunny white nail polish.

As it is, it will make a great base for some nail art when I get the nerve to try this water marbling:

I so want to try this but it looks labor intensive so have been putting it off. I had every intention of doing it but then my white chipped three days later and I was ready to try a new color. I know, excuses excuses. But I am definitely going to try it. Problem is, these nail artists make it look so easy that I get discouraged when it is not — I love the simplicity and satisfaction of a straight coat of color.

Have you tried white nail polish, or water marbling?

***
Topic Links
* Get your white Bunny nail polish from Julep
* My first Maven experience
* My second Maven experience
* Check out the first marble look nail art I tried!